Where to Mount Dash Cam? (Tips and Best Locations)
When you purchase through links on our site, we may earn an affiliate commission.
When it comes to installing a dash cam, one of the most important decisions you’ll make is where to mount it.
The placement of your dash cam can have a big impact on the quality of footage it captures, as well as its overall effectiveness as a tool for protecting you on the road.
In this article, we’ll explore some of the best places to mount your dash cam for optimal results.
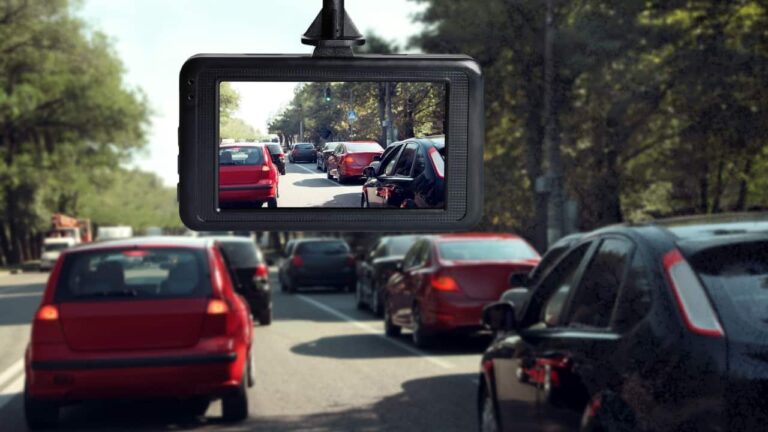
First and foremost, it’s important to choose a location that provides an unobstructed view of the road ahead.
This means avoiding areas where the dash cam might be blocked by the rearview mirror, sun visors, or other objects inside the car.
Additionally, you’ll want to consider the angle of the camera and how it will capture footage of both the road and any potential incidents that may occur.
With these factors in mind, let’s take a closer look at some of the most popular dash cam mounting locations.
Selecting the Right Position
When it comes to mounting a dash cam in your vehicle, selecting the right position is crucial. Here are some factors to consider when choosing where to install your dash cam.
Windshield Placement Considerations
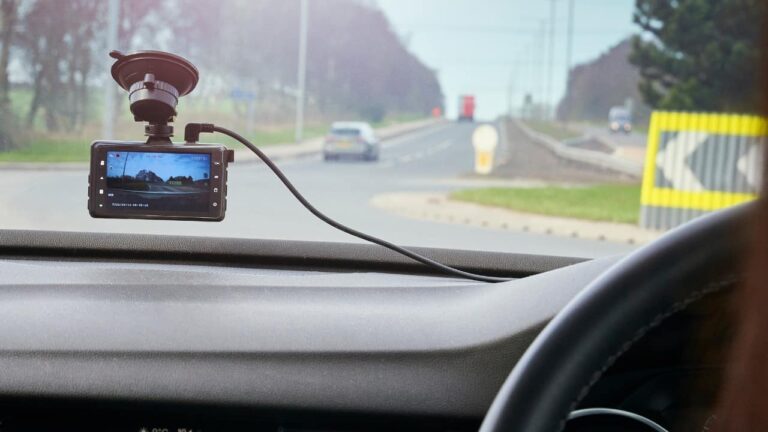
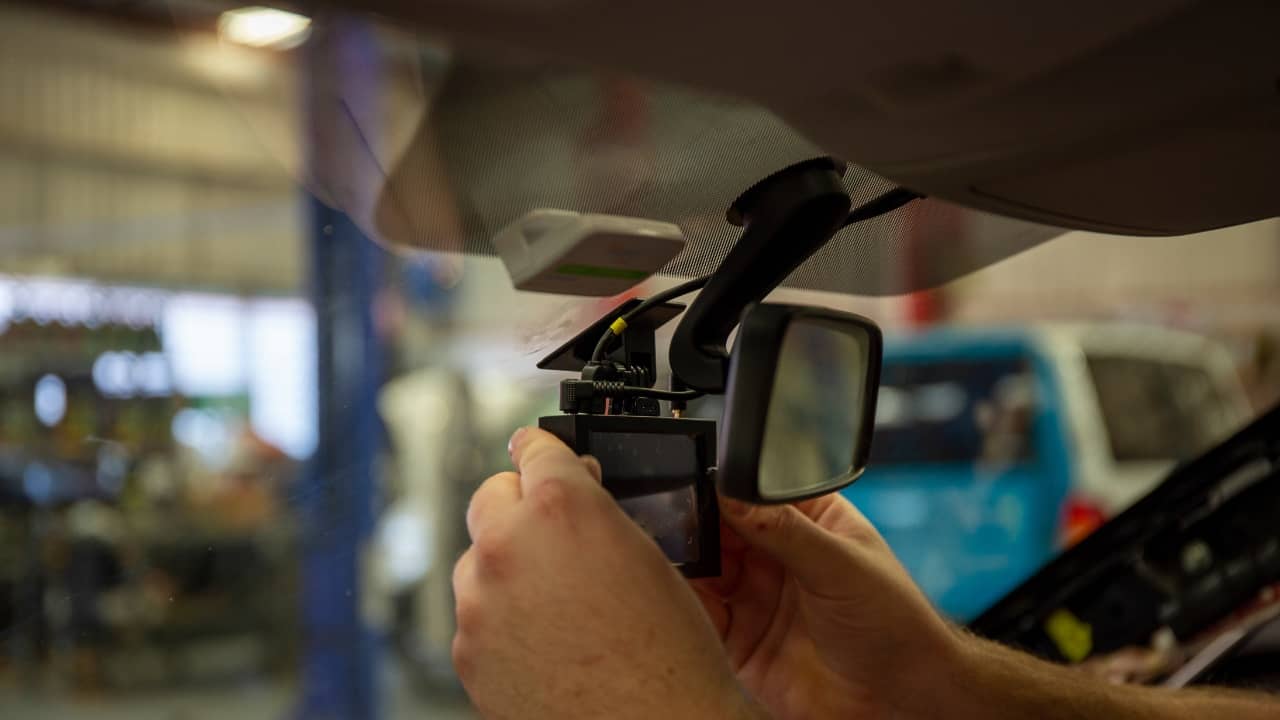
The most common location for a dash cam is on the windshield, typically behind the rearview mirror. However, it’s important to ensure that the dash cam doesn’t obstruct your view of the road. Some states have laws regarding the placement of objects on windshields, so be sure to check your local regulations.
Driver’s Field of View
Mounting the dash cam in the driver’s field of view can provide the best footage of any incidents that may occur while driving. However, it’s important to ensure that the dash cam doesn’t obstruct your view of the road or any important dashboard information.
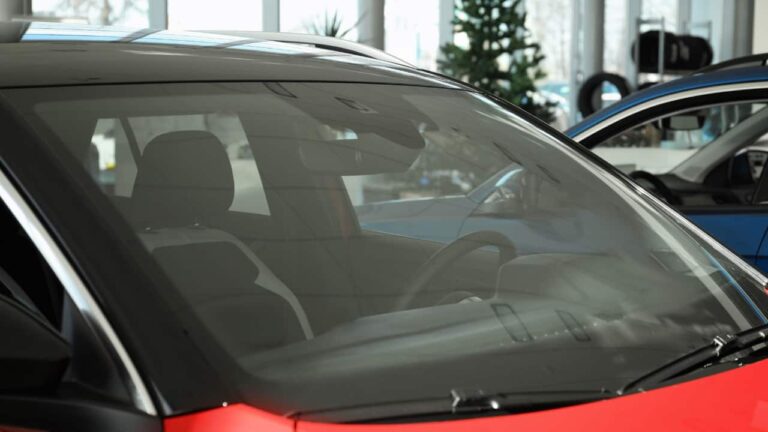
Passenger-Side Mounting Options
Mounting the dash cam on the passenger side of the vehicle can provide a wider field of view, capturing footage of both the road ahead and any incidents that occur on the side of the vehicle.
However, this may not be the best option if you frequently have passengers in your vehicle, as their heads may obstruct the view of the dash cam.
Overall, selecting the right position for your dash cam is crucial to ensure that it captures the footage you need in the event of an incident. Consider the factors above and choose the location that best suits your needs while also complying with any local regulations.
Installation Process
Cleaning the Mounting Area
Before installing your dash cam, it is important to clean the mounting area thoroughly. Use a microfiber cloth and a cleaning solution to wipe down the area where you plan to mount your dash cam. Make sure to remove any dirt, dust, or debris from the surface to ensure a secure and stable mount.
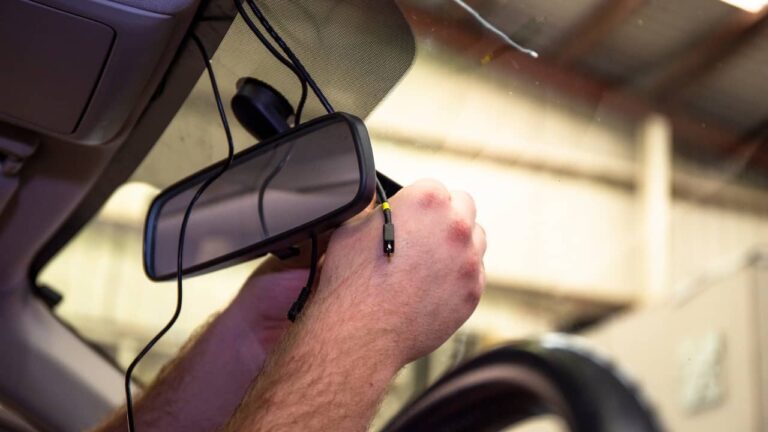
Attaching the Mount
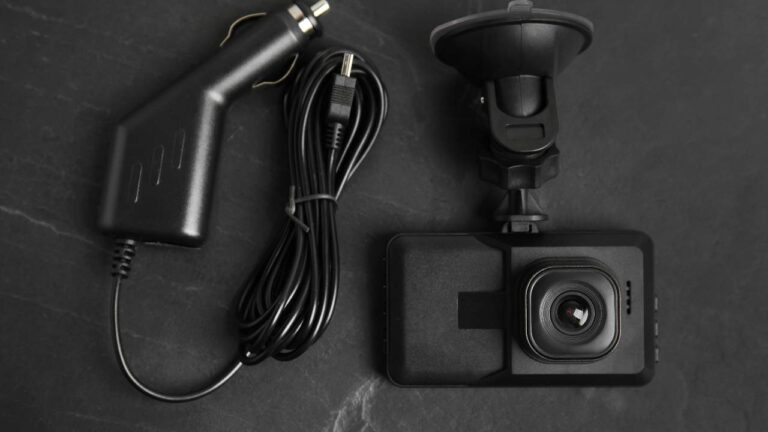
Once the mounting area is clean, attach the mount to your dash cam. Most dash cams come with a suction cup mount that can be easily attached to the camera. Make sure the mount is securely attached to the camera before proceeding.
Next, position the mount on the cleaned surface and press down firmly to create a secure seal. It is important to ensure that the mount is attached to a flat and smooth surface to prevent it from falling off while driving.
Hiding Cables
To give your dash cam a clean and professional look, it is important to hide the cables. Start by routing the cable from the dash cam to the power source. Tuck the cable under the headliner, behind the pillar, and under the dashboard to hide it from view.
Use cable clips or adhesive tape to secure the cable in place and prevent it from dangling or obstructing your view while driving. Make sure to test the dash cam and cables before driving to ensure that everything is working properly.
By following these simple steps, you can easily install your dash cam and start recording your driving experiences with confidence.
Maintenance and Troubleshooting
Regular Cleaning
To ensure that your dash cam functions properly, you need to keep it clean. Dirt, dust, and other debris can accumulate on the lens and cause blurry footage. You can use a microfiber cloth to wipe the lens gently. Avoid using harsh chemicals or abrasive materials that can scratch the lens.
Dash Cam Re-Calibration
If you notice that your dash cam is not recording properly, you may need to recalibrate it. This is especially important if you have been in an accident or if your car has been serviced. Check the manufacturer’s instructions to see how to recalibrate your dash cam properly.
Dealing with Vibration Noise
If your dash cam is making a lot of noise, it could be due to vibration. This is common in older cars or cars with worn suspension systems. You can try mounting your dash cam on a different part of the windshield or using a foam pad to absorb the vibration. If the problem persists, you may need to have your car’s suspension system checked by a mechanic.
Remember, regular maintenance is key to keeping your dash cam functioning properly. By taking care of your dash cam, you can ensure that you have clear footage in case of an accident or other incident on the road.
Conclusion
Mounting your dash cam is a crucial step in ensuring its effectiveness. By placing it in the right spot, you can capture the necessary footage in case of an accident or other incidents on the road.
Remember to keep the following points in mind when deciding where to mount your dash cam:
- Make sure it has a clear view of the road ahead.
- Avoid mounting it in a spot that obstructs your view while driving.
- Ensure it is mounted securely to prevent it from falling off or shifting during driving.
- Consider the type of dash cam you have and its features when selecting a mounting location.
By following these guidelines, you can ensure that your dash cam will be a valuable tool in providing evidence in case of an accident or other incidents on the road.